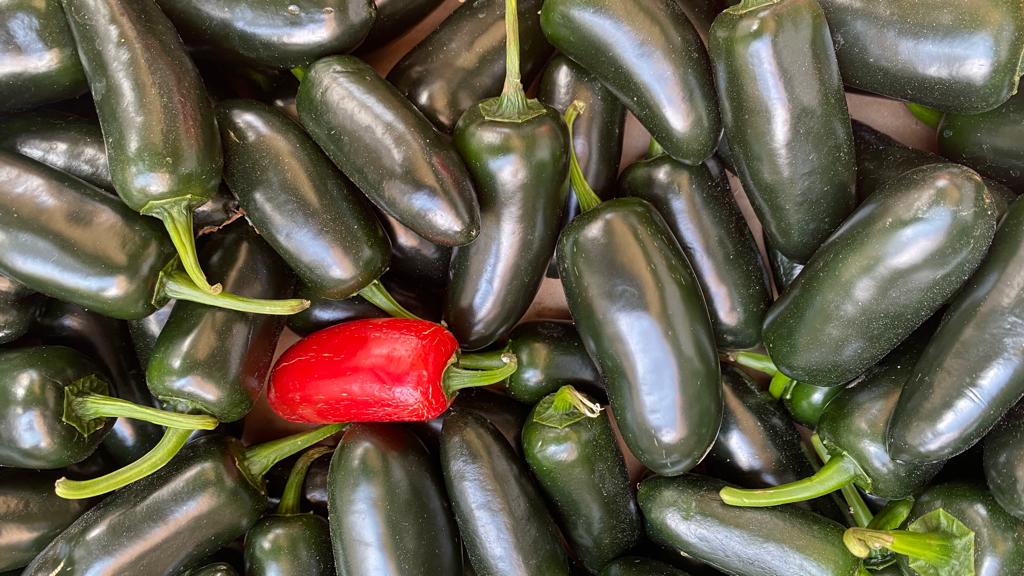
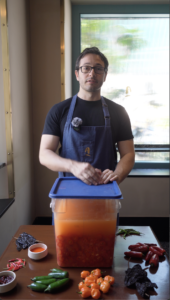
Have you ever wondered if you can make fermented hot sauce – in the style of Tabasco, Huy Fong’s Sriracha, or Frank’s RedHot – at home? You can. Chef Alex’s guide makes it look and feel easy.
Fermentation, on its own, is a vast subject that encompasses everything from alcoholic beverages to bread making; pickles to charcuterie; yoghurt to soy sauce. It is a fascinating natural process that has limitless culinary applications and can be traced back to countless cultures and cuisines around the world. I have promised a “quick” guide to the fermentation of chillies, and chillies alone, but I encourage you to explore this subject further if your curiosity compels you.
But first, an important note on safety:
In order to safely ferment chillies, you must be aware that fermentation involves both the recruitment of friendly microorganisms and the prevention of harmful microbes that can make you sick. This balancing act is achieved by: 1) thoroughly sanitising the workspace and the vessels used in the fermentation process; and 2) carefully controlling the amount of salt used to inhibit microbial growth.
This is the simplest way to sanitise your cooking environment:
Step 1
Fill a spray bottle with 20 ml of bleach and 1 litre of water. This dilution rate works well in all basic sanitising applications and is recommended by the CDC. (This was my go-to surface sanitiser throughout the pandemic.)
Step 2
Spray the bleach solution onto your work surface and any utensils (cutting boards, knives, spoons, mixing bowls, blender jars, etc.) you intend to use while making your hot sauce. Wipe everything down with a clean paper towel.
Step 3
Spray the inside and outside of your fermenting vessel with the bleach solution and dry with a clean paper towel.
Step 4
You are now ready to begin.
How much salt is enough?
Chillies are particularly susceptible to microbial growth, making them an excellent candidate for fermentation. But, with the good comes the bad, and adequate salt must be used to ward off the baddies. Overdo it on the salt, and the hot sauce becomes unpleasantly salty; add too little and you’ll give yourself the runs, or worse.
The accepted rule of thumb is 5 per cent of salt by the weight of chillies (50 grams of salt per 1 kilogram of usable chilli flesh).
This works, but is by no means foolproof.
I prefer to completely submerge the chillies in a salt brine solution of 5 per cent by weight (50 grams of salt per 1 liter of water). It is a small but important difference that will give you a much higher success rate and more control over the fermentation process.
When in doubt, throw it out.
If it stinks beyond a pleasant funk, if it makes you gag or puke in your mouth, or if it looks totally unappetising, it is probably not safe to eat and is definitely not going to make for an appealing hot sauce. Trust your instincts, throw it away, and start over, no matter how much time you have already invested.
How to ferment chillies
Once you understand the basics of sanitisation and the importance of salt, you’re ready to embark on the magical journey of chilli fermentation. The method – one I have streamlined over the years for the sake of consistency – couldn’t be simpler.
Step 1
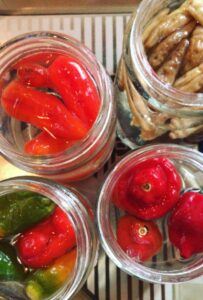
Fill your sanitised fermentation vessel with sliced chillies (I prefer a sturdy glass pickling jar, but food-grade plastic or ceramic vessels will do just fine). Leave out the stems, they don’t contribute anything to the final hot sauce, the seeds can stay.
Step 2
Prepare enough 5 per cent salt brine solution to cover the chillies completely, plus 1 to 2 inches of excess. The best way to make the brine is to boil a quarter of the total amount of water with the total amount of salt. Once the salt is dissolved, add the remaining water. This will help to cool the brine quickly. For 4 litres of brine, it would look something like this:
4 litres (4000 grams) water x 5 per cent = 200 grams salt
Boil 1 litre of water with 200 grams of salt until dissolved. Add remaining 3 litres of water and cool brine to room temperature.
Step 3
Cover chillies with brine, plus 1 to 2 inches of excess — the chillies will float to the surface so look at the bottom of the jar rather than the top of the chillies. Fill a sanitised plastic bag with water or excess brine solution (if you have some leftover), and place the bag on top of the chillies to weigh them down and keep them fully submerged in the brine. Don’t worry if a few chillies pop up around the sides, just do your best to keep them covered.
Step 4
Cover the vessel with a loosely fitted jar to allow the chillies to breathe. I personally like to tie a sheet of cheese cloth around the mouth of the vessel with kitchen twine, but this isn’t required. What is important is to make sure that nothing gets in from the outside world (e.g. insects, dirt, dust, hair, etc.).
Step 5
Now we wait. Leave the chillies at room temperature in a dark place, or at least away from direct sunlight. It shouldn’t be too hot or too cold. A safe range is between 20° C and 30° C. Too cold and your fermentation will take forever; too hot and you risk encouraging the growth of harmful microbes and unpleasant or “off” flavours.
Take pleasure in tending to your new pet. Each night before you go to bed and every morning when you wake up (maybe even a few times in between), take a look at your chillies and see what’s happening. Carefully remove the lid or cheesecloth and inspect the surface of the brine. You may notice a thin white film: this is called Kahm yeast. Kahm yeast is perfectly safe, but, if allowed to proliferate, tends to impart the unpleasant aroma of stinky feet into your ferment; it can also attract dangerous molds, which we most certainly do not want. Skim off the top layer of the white yeast with a sanitised spoon or ladle, cover the vessel once again, and allow the fermentation to continue.
Step 6
After a few days, taste the brine. Don’t put your hands directly into the brine. Use a sanitised spoon—no double-dipping! As the chillies ferment and the lactic acid increases, the brine will go from unpalatably salty to pleasantly sour with a balanced flavour (remember the ponzu sauce analogy). It can take anywhere from three to seven days depending on the temperature of the room, but at a certain point, the brine will taste delicious. Now, taste a chilli. If it tastes raw, like a fresh red or green bell pepper, it probably needs another day or two of fermentation. But if it tastes pickled, pleasantly sour all the way to the center, the fermentation is ready!
Step 7
Now that your fermentation is a success, the chillies and their delicious brine are ready to be transformed into hot sauce. Remember that this is a living thing and the flavour will continue to develop with each second it sits on the countertop. If you want to preserve the flavour you have achieved, you can either make hot sauce right away, or store the chillies in their brine, loosely covered, in the refrigerator. The cold temperature of the fridge slows the microbial activity to a crawl, but does not stop it completely.

This is part three of our three part Hot Sauce series curated by Chef Alex Sanchez. Read part one and part two here.